Ōśģ┬Ę.┬Ę┬┤┬»`┬Ę.┬ĘŌśģ ą▓╬▒s╬╣c ╬ĘŽā╬╣s╬Ą gŌäō╬╣čéčé╬ĄčÅęō╬╣ŌäōŌäō Ōśģ┬Ę.┬Ę┬┤┬»`┬Ę.┬ĘŌśģ
This tutorial was created with PSP 8 and Animation Shop 3. However, you may still incorporate these steps into other versions (though the features may be named and/or placed differently).
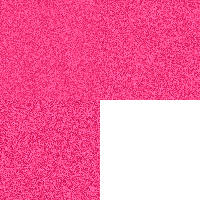
Here's what we're going to make:
A simple noise fill.

STEP 1
Open a new canvas by going to File > New. Use the dimensions of 100 width and 100 height (100x100) or to any size of your choice.
Optional settings:
Raster Background
Color depth: 16 Million Colors
Transparent
STEP 2
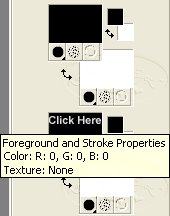
Using the Flood Fill tool ( ), fill in your canvas with the color (you can also use a gradient or pattern *examples at the end*) of your choice from the Materials palette. I used the color #FF4184. To change the color, gradient or pattern, click the Foreground and Stroke Properties box and select the appropriate tab.

STEP 3
Now go to Adjust > Add/Remove Noise and select Add Noise.
Adjust the settings to Uniform, 30% (or to your # of preference), Monochrome.
You can choose either noise setting (Random, Uniform or Gaussian) and/or select Monochrome. It's really just a matter of preference. Click OK when you're done adjusting.
STEP 4
Copy and paste your "noise fill" by going to Edit > Copy (or by pressing ctrl+C).
Now go to Animation Shop (AS) and go to Edit > Paste > As New Animation (or press ctrl+V anywhere in AS's workspace).
STEP 5
Go back to PSP and go to Edit > Undo Add Noise (or press ctrl+Z once). You are just going to undo the noise from Step 3.
STEP 6
Now, repeat Step 3, only this time you will adjust the # setting to 35%.
STEP 7
Repeat Step 4 to copy your "noise fill" to AS, only this time you will select Edit > Paste > After Current Frame (or press shift+ctrl+L).
STEP 8
Go back to PSP once again and undo the noise like in Step 5 (press ctrl+Z once).
STEP 9
Repeat Step 3 again, only this time you will adjust the # setting to 40%.
STEP 10
Now, one last time you will copy and paste your "noise fill" to AS, following Step 7. If you want to see your "noise fill" in action (animated) before you save it, go to View > Animation. This will open a new window showing your animation.
Happy with the way it looks? Good, now you can save it! Not happy? Well, just go back and redo the previous steps and adjust settings to your liking. When you're all done, save it and voila!
Here are some variations you can try out!
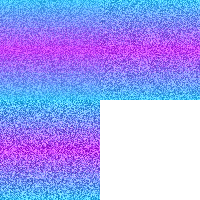
Gradient Noise Fill:
Foreground and Stroke Properties #41C3FF
Background and Fill Properties #C741FF
Noise Settings of Uniform, 30%, 40% and 50%, Monochrome

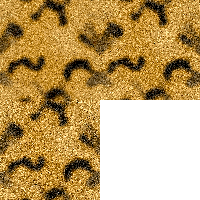
Pattern Noise Fill:
Animal Leopard
Noise Settings of Gaussian, 40%, 50% and 60%, Monochrome
Added a seamless tiling effect (Effect > Image Effect > Seamless Tiling) with the settings of Mirror, Bidirectional, Horizontal & Vertical at 0%, Width 50%

Whatelse Can You Do?
You can also add "sparkles" to your fills! You can use Picture Tubes (tubes), brushes, or Plugins (filters). If using tubes or brushes, position the "sparkles" in different places in each frame. You can download a cool Sparkles plugin from Xero, it's pretty neat!
This tutorial was created by me and should not be reposted or shared anywhere without my consent. Tutorial was revised on May 20th, 2009.